Windows Live Movie Maker is a fun application that is part of the Windows Live suite of applications that Microsoft has developed to give users the ability to jazz up videos to make them look more professional.
Unfortunately, there is still no way to create animation in Windows Live itself however. This doesn’t mean you’re dead in the water though, as there is a way to create animation by combining MS Paint with Movie Maker, and it all harkens back to the old days of cartoon animation.
To begin, load MS Paint and start start drawing something that you would like to animate. In this example, we will create the animated effect of a car moving across the screen from one side to the other.
We begin by drawing the car freehand using all default attributes.
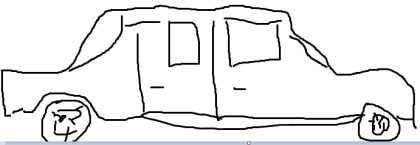
Next, use the Select tool to “capture” the car. Draw a rectangle around the car as close to the car as possible, and then let go; next click on the Cut command on the main menu.
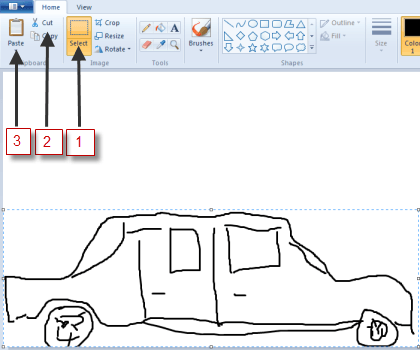
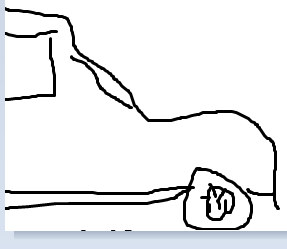
As soon as you click on Cut, the car should disappear, then immediately click on thePaste icon. The picture you just cut out should now reappear, with the frame still around it, this means you can drag it to wherever you wish on the paint canvas. To create the illusion of movement, move the image (car) to one side of the screen to begin its journey across the screen, moving from left to right:
Click the File command icon, and then choose Save as. Choose any filename you like, but end it with the number 1. In this case, we’ll call it c1, for car 1.
Next, hit the Back icon to undo what you just did; the car should disappear again. Click on the Paste icon again, to paste it back in, then move it again, just as you did the first time, only this time, put it slightly ahead of where you did the first time.
Then, do the Save as thing again, only this time, name it with a 2, e.g. c2.
Repeat this whole process as many times as it takes to get the car moved all the way across the screen with each step along the way saved as a unique series of consecutive file names.
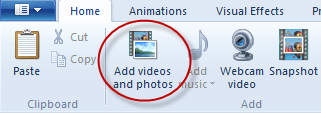
Then, close down Paint and fire up Windows Live Movie Maker; click on Add videos and photos:
Use the file manager tool that is launched to maneuver to and locate the files you just created in Paint. Double-click on the first one, in this case, C1, to open it. It should look something like this:
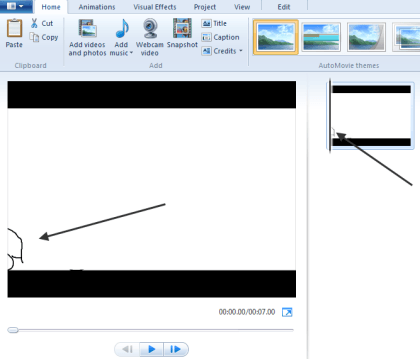
It should show up in both the big main pane and in the little pane on the right, indicating that it will be the first image displayed in the “video.”
Open the rest of the images you created in Paint, one after another in sequence until all of the images have been loaded.
If you choose to play the movie as things are at this point, the time that each image is shown on the screen would be far too long, and thus it wouldn’t look animated. To fix that, we need to change the amount of time each image is displayed.
To do that, click on the the first image in the sequence, then while holding down the Shift key, move to the last one, then click on it as well. This should cause all of your images to be selected. It should look something like this:
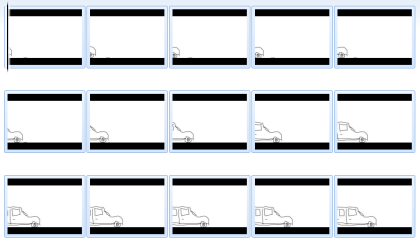
Note: The bottom part of the image above was cut off for clarity.
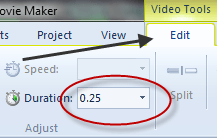
Next, click on the Edit tab from the main menu and type .25, as in ¼ of a second, in the duration box. You want the application to hold onto each picture just long enough for it to be displayed,which means the player will move through all of them quickly enough to simulate motion.
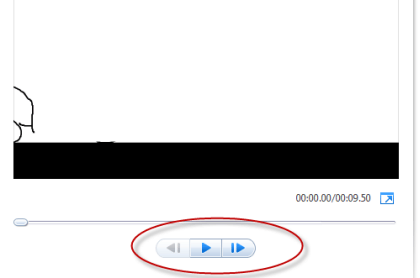
Finish by clicking the Play button under the main viewing screen:
You should see your images load sequentially, one after the other, quickly enough so that it appears as if your image is moving across on the screen. This is exactly how animation used to be done, except the images were drawn by hand, then flashed quickly in front of a camera which recorded the action as an animated movie.
This same technique can be used to simulate multiple characters moving around, or just their mouths moving to simulate them speaking. It can also be done by taking a series of photographs of an object that is moved slightly between each take.


1 comments:
In case you are interested in earning money from your websites or blogs using popunder advertisments - you can try one of the highest paying companies - Pop Cash.
Post a Comment
thank you for visiting our site..!